m1 macbook使用brew安装mysql
如果对版本没有特别要求,那么直接使用brew install mysql安装即可。这个过程很快的,安装完后会显示下面的信息:
Upgrading from MySQL <8.4 to MySQL >9.0 requires running MySQL 8.4 first:
- brew services stop mysql
- brew install mysql@8.4
- brew services start mysql@8.4
- brew services stop mysql@8.4
- brew services start mysql
We've installed your MySQL database without a root password. To secure it run:
mysql_secure_installation
MySQL is configured to only allow connections from localhost by default
To connect run:
mysql -u root
To start mysql now and restart at login:
brew services start mysql
Or, if you don't want/need a background service you can just run:
/opt/homebrew/opt/mysql/bin/mysqld_safe --datadir\=/opt/homebrew/var/mysql
一般本地使用的时候都是直接使用root账号的.
这个时候可以尝试直接使用mysql -u root 登录mysql,会提示下面的错误:
猜测应该是mysql还没有启动。
使用 brew services start mysql 启动mysql。
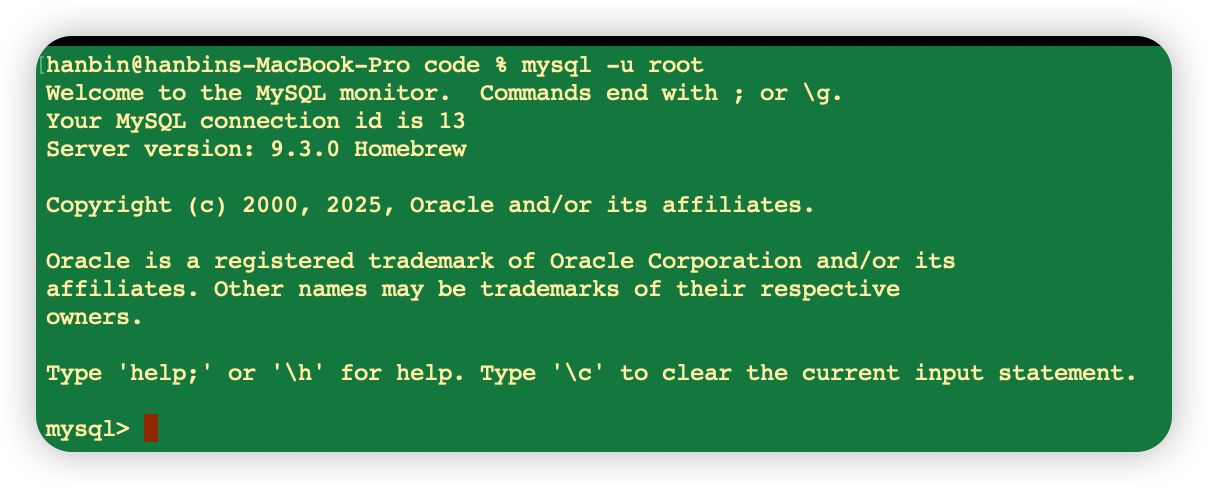
然后再次使用 mysql -u root 登录mysql,登录正常。
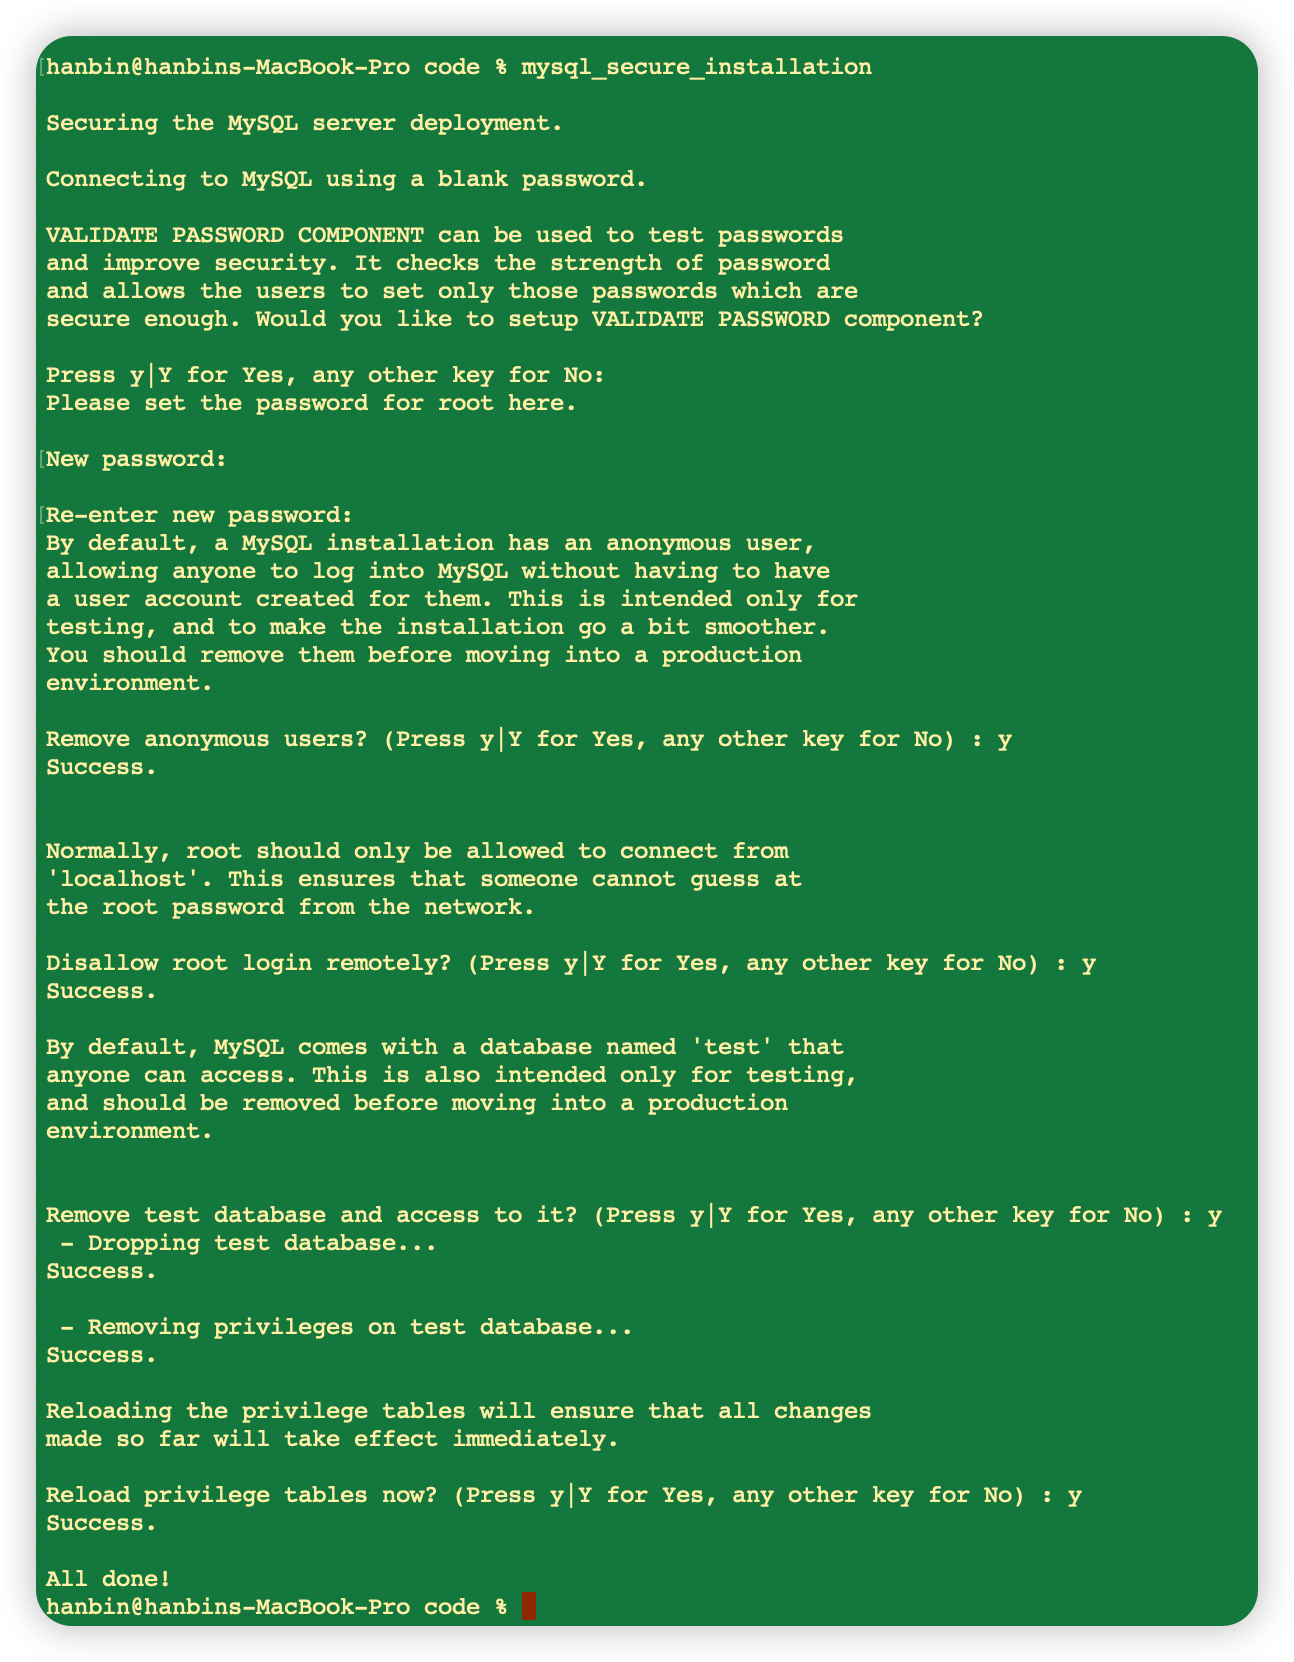
这个时候的root仍然是没有密码的,接下来给root设置一个密码。
使用 mysql_secure_installation 对数据库进行配置。
我设置的密码是root
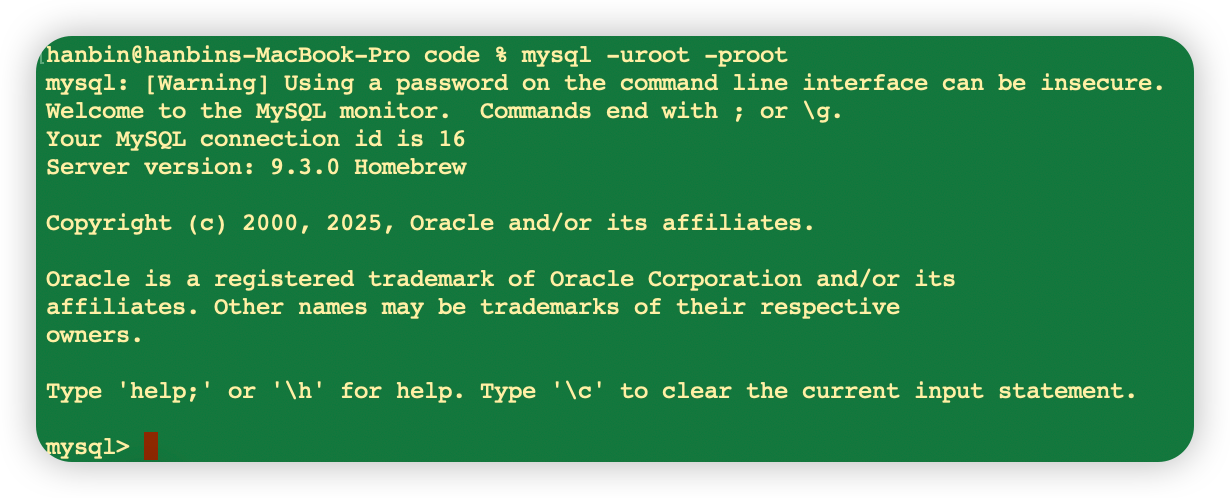
接下来就可以使用 mysql -uroot -proot 登录数据库了。
大功告成!